
So, you’ve decided it’s time to part ways with your rearview mirror, huh? Well, buckle up because I’m here to guide you through this mirror removal extravaganza! Trust me, it’s not as daunting as it sounds – we’ll have that mirror off in no time.
First things first, grab your tools and let’s get cracking! Remember, we’re aiming for a smooth removal, not a shattered glass disaster. I’ll share some quirky tips and tricks to make this process a breeze. Before you know it, you’ll be waving goodbye to your mirror like a pro.
Tools and Materials Needed
Tools Required
- Flathead screwdriver: This trusty tool is like the superhero of the screwdriver world, ready to tackle those pesky screws on your rearview mirror.
- Safety gloves: Shield your delicate hands from any unexpected sharp edges or potential surprises during the removal process.
- Microfiber cloth: Keep it classy while cleaning up any smudges or fingerprints left behind after the mirror is gone.
- Small pry tool: Think of this as your mirror removal sidekick, helping you gently pry the mirror away without causing any damage.
- Adhesive remover: The magical potion that will dissolve any sticky residue left on your windshield after the mirror bids adieu.
- Replacement adhesive pads: Because your mirror needs something to hold onto when it’s back in action.
- Rubbing alcohol: Not for drinking, but perfect for cleaning the windshield surface before reattaching the mirror.
- Painter’s tape: The unsung hero that helps mark the spot where your mirror belongs, ensuring a perfect fit.
- Old newspaper or paper towels: Lay these down to catch any adhesive drips or to protect your car’s interior during the removal process.
- Patience: You can’t buy this one, but boy, is it essential when dealing with finicky mirror removal situations.
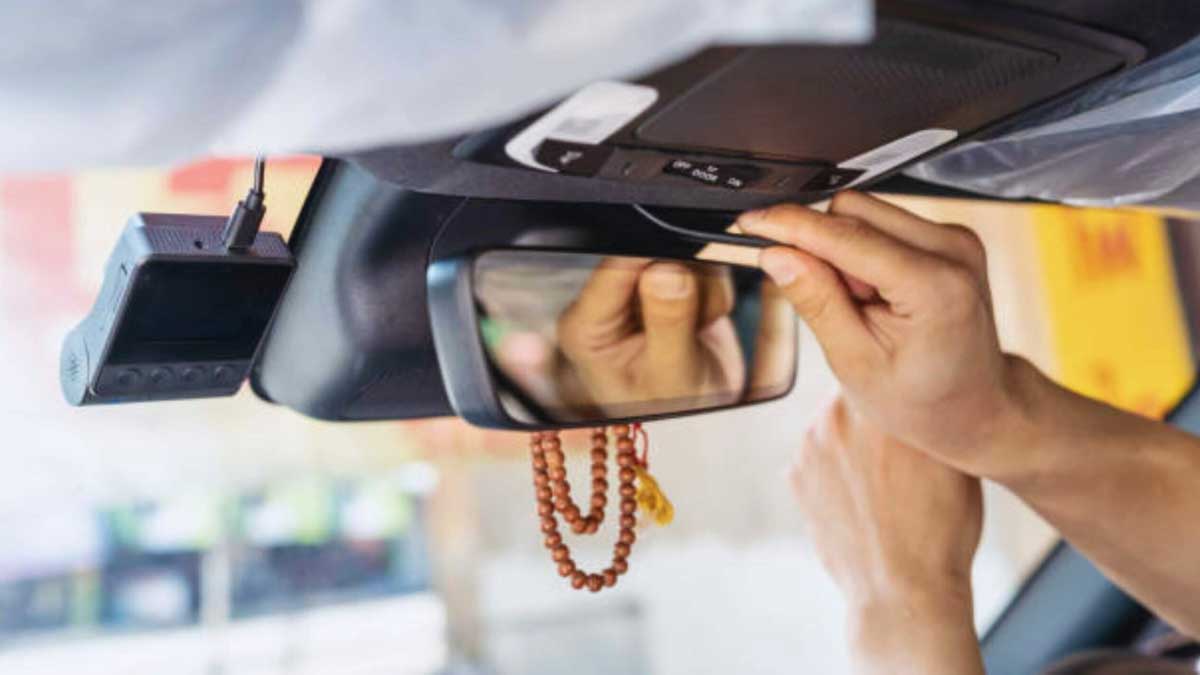
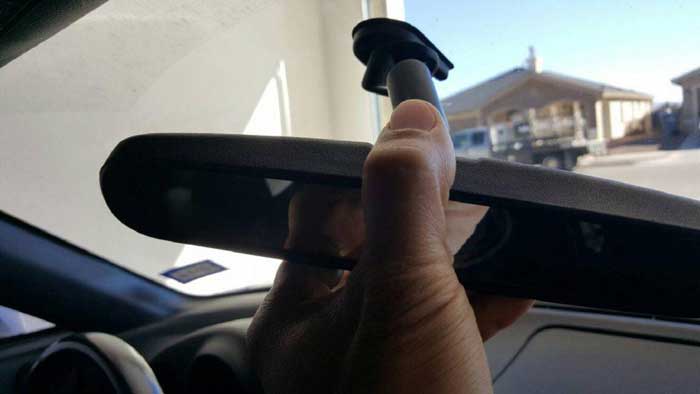
Identifying Your Rear View Mirror Type
When diving into the world of rear view mirrors, it’s essential to first identify the type of mirror you’re dealing with. Let’s explore the different types and how to distinguish them with ease.
Glued Mirrors
Ah, the mysterious glued mirrors! These mirrors are like the sticky bandits of the mirror world. To identify a glued mirror, look for a seamless attachment to the windshield. If the mirror seems like it’s in a committed relationship with the glass, you’ve got yourself a glued mirror to tackle.
Screwed Mirrors
On the other end of the spectrum, we have the trusty screwed mirrors. To spot a screwed mirror, search for visible screws holding the mirror in place. It’s like finding a hidden treasure map; follow the screws, and you’ll uncover the secret of the screwed mirror.
Pivot Point Mirrors
Last but not least, the elegant pivot point mirrors. Identifying a pivot point mirror is a breeze – check for a small ball joint or pivot mechanism at the base of the mirror. It’s like finding the swivel chair of mirrors; easy to adjust and move around.
Preparing to Remove the Mirror
I’m diving into the exciting world of unraveling the mysteries of rearview mirrors today! Let’s get this mirror removal show on the road.
Safety Precautions
- Safety First! Ensure your superhero safety cape is on before embarking on this mirror mission. We’re talking sturdy gloves to protect those precious fingers.
- Protect Those Peepers! Don’t forget your safety goggles to shield those eyes from any unexpected surprises.
- Mind Your Surroundings! Extra points for a well-ventilated area to prevent any fumes from getting too cozy.
- Secure the Scene! Keep your workspace clutter-free to avoid any marathon obstacle courses while tackling the mirror.
- Tool Time! Gather your squad of trusty tools: flathead screwdriver, microfiber cloth, small pry tool, adhesive remover, replacement adhesive pads, rubbing alcohol, painter’s tape, and some old newspaper or towels for added drama.
- Mirror Sleuthing! Now, let’s play detective and identify the mirror type – glued, screwed, or pivot point. Each one comes with its own quirks, so let’s be mirror-savvy.
Step-by-Step Guide to Removing the Rear View Mirror
Removing a rearview mirror might seem like a challenging job, but fear not! I’ve got your back with this handy step-by-step guide to make it as easy as pie. Just follow along, and you’ll have that mirror off in no time.
Disconnecting any Wiring
Ah, the first step: tackling those wires. It’s like untangling your earphones but a tad bit trickier! Here’s what you gotta do:
- Identify the wiring: Take a closer look and spot any sneaky wires hanging around.
- Use caution: Safety first! Gently disconnect the wiring to avoid any shocking surprises.
Removing a Glued Mirror
Onto the challenge of a glued mirror. It’s like separating two superglued fingers – not easy but doable!
- Prepare the area: Lay down some old newspapers to catch any drips and prepare for the sticky situation.
- Apply adhesive remover: Time to break the bond! Use the remover to loosen the grip of that stubborn glue.
- Gently pry it off: Slow and steady wins the race. Carefully pry the mirror off without damaging your windshield.
Removing a Screwed Mirror
Next up, the classic screwed mirror. It’s like unscrewing a light bulb – a twist here, a turn there, and it’s off!
- Locate the screws: Find those pesky screws holding the mirror in place.
- Unscrew with care: Grab your trusty screwdriver and start removing those screws one by one.
- Securely remove the mirror: Hold on tight as you gently take off the mirror without dropping any screws down the rabbit hole.
Removing a Pivot Point Mirror
Last but not least, the pivot point mirror. It’s like rocking a baby – gentle movements and lots of patience!
- Locate the pivot point: Find where the mirror pivots and prepare for a different removal approach.
- Release the pivot: Ease the mirror out of its pivot point with a gentle touch.
- Handle with care: Treat the mirror like fine china as you remove it to avoid any accidental breakages.
Cleaning the Windshield After Removal
After successfully removing your rearview mirror, it’s time to ensure that your windshield stays squeaky clean. Let’s jump into the nitty-gritty of cleaning up after mirror removal:
- Gather Your Supplies: Grab a microfiber cloth and a quality glass cleaner to tackle the mess left behind from the mirror removal process. My trusty sidekicks in this operation!
- Wipe Away Residue: Gently wipe the windshield to remove any adhesive residue left by the mirror. A bit of elbow grease might come in handy here!
- Shine It Up: Spritz some glass cleaner on the cloth and give the windshield a final wipe-down for that crystal-clear finish. Voilà, good as new!
- Inspect Your Work: Take a moment to admire your handiwork. Marvel at the streak-free shine of your windshield post-mirror removal. Job well done, my friend!
Common Issues and Troubleshooting
Sometimes, things don’t always go as smoothly as we’d like, especially when trying to detach that stubborn rearview mirror. Here are some common issues you might encounter and how to troubleshoot them:
Dealing with Stubborn Adhesive
So, you’ve got this rearview mirror stuck on like it’s never coming off, huh? Not to worry, I’ve been there. To tackle this sticky situation, grab some rubbing alcohol or a specialized adhesive remover. Gently apply the remover along the edges of the mirror and let it work its magic for a few minutes. Then, carefully use a flat tool like a plastic putty knife to ease the mirror off. Remember, patience is key here!
Handling Broken Glass
Uh-oh, did your removal attempt end up shattering your mirror? Don’t panic; I’ve got your back. First off, ensure you’re wearing gloves and eye protection to deal with the broken glass safely. Next, use duct tape to cover the shattered area and carefully remove the remaining glass. Dispose of it responsibly, making sure to clean the area thoroughly. Safety first, folks!
Rewiring Challenges
Oh, the joys of dealing with wirings, right? If you’re faced with reattaching the wires after removing the mirror, take a deep breath; it’s not as bad as it seems. Identify the wires by color or markings if possible. Then, using a wiring diagram or manual, reconnect each wire to its corresponding terminal. Double-check your connections and test the mirror before calling it a day.
FAQs
Is It Legal to Drive Without a Rear View Mirror?
I’m no legal expert, but driving without a rearview mirror is like trying to eat soup with a fork—it’s just not the right way to do things. In most places, it’s certainly not legal to hit the road without your trusty rearview mirror. So, keep that mirror intact, and you’ll be cruising down the highway legally and stylishly.
How Do I Reattach a Rear View Mirror?
Let me spill the beans on reattaching a rearview mirror—it’s easier than untangling earphones! To get that mirror back in its prime spot, you’ll need some muscle (not the gym kind, just a steady hand). Get yourself a mirror adhesive kit—easy peasy. Carefully follow the instructions, slap that mirror back in place, and voilà! You’re once again the master of the road, with a rearview mirror that’s not going anywhere.
Conclusion
Well, folks, removing a rearview mirror may seem like a challenging job, but fear not! Armed with the right tools and a sprinkle of know-how, you can tackle this challenge like a pro. Remember, safety first – those mirrors can be trickier than they look! Whether you’re dealing with stubborn adhesive, shattered glass, or tangled wires, there’s always a solution at hand. And hey, if you ever find yourself mirror-less on the road, just remember, it’s not the end of the world (though it might feel like it). So, go forth, remove those mirrors with confidence, and revel in the glory of a job well done!
Frequently Asked Questions
How do I remove a rearview mirror properly?
To remove a rearview mirror, first, cover the area with a cloth to catch any falling pieces. Use a screwdriver to unscrew the mirror bracket, then gently detach the mirror. For glued mirrors, warm the mount with a blow dryer to soften the adhesive. Be cautious during removal to prevent damage.
What should I do if the rearview mirror adhesive is stubborn?
If the adhesive is stubborn, use an adhesive remover to soften it further. Apply the remover according to the product instructions, allowing it to penetrate the adhesive. Gently scrape off the softened adhesive using a plastic scraper, taking care not to damage the windshield.
Is it legal to drive without a rearview mirror?
While laws vary by location, it is generally required to have a rearview mirror for safe driving. Driving without one may be illegal and compromise your safety on the road. It is advisable to fix or replace a broken rearview mirror promptly to comply with regulations and ensure proper visibility while driving.
How can I reattach a rearview mirror after removal?
To reattach a rearview mirror after removal, follow these steps:
- Clean the windshield and mirror mount thoroughly.
- Apply a mirror adhesive kit to the back of the mirror bracket.
- Press the bracket onto the marked spot on the windshield and hold it in place.
- Allow the adhesive to cure as per the kit instructions.
- Test the mirror’s stability before driving to ensure it is securely attached.