
Have you ever cringed at the sight of a scratched rim on your beloved car? I know the feeling all too well. Luckily, fixing a scratched rim doesn’t have to be a daunting task. In just five simple steps, you can restore your rim to its former glory and regain that sleek look you love.
When it comes to DIY car repairs, tackling a scratched rim can seem intimidating, but with the right guidance, it’s a manageable project that can save you time and money. In this article, I’ll walk you through the step-by-step process of fixing a scratched rim, from gathering the necessary materials to the final touches that will leave your rim looking as good as new. So, grab your tools and let’s get started on giving your car that polished finish it deserves.
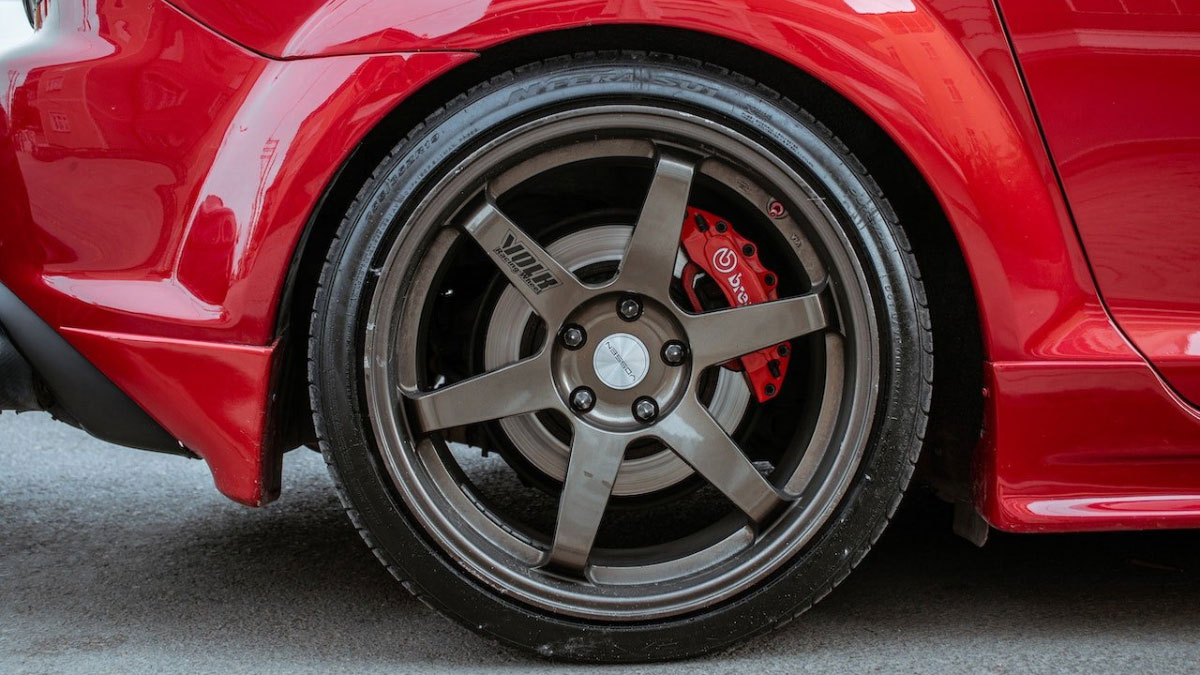
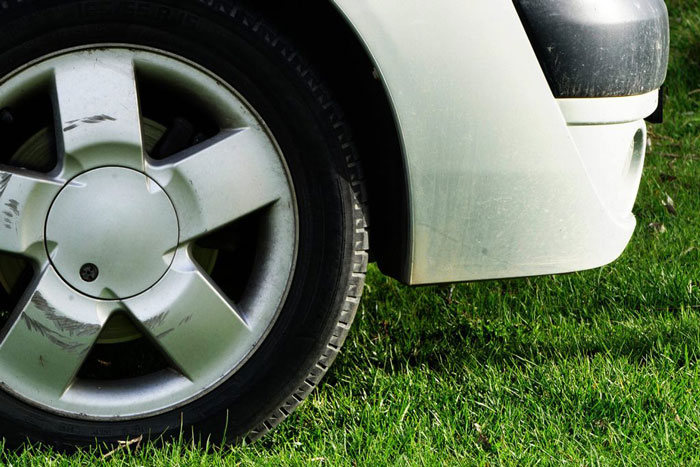
Assessing the Rim Damage
Inspecting the severity of the rim damage is crucial before initiating any repair work. I’ll share how I assess the extent of the scratches to determine the appropriate course of action.
- Visual Examination:
- Begin by visually inspecting the rim under bright light to identify the scratches. I look for both shallow surface scratches and deeper gouges that may require different repair techniques.
- Run Your Fingernail Test:
- Carefully run your fingernail over the scratched surface. If your nail gets caught in a scratch, it indicates a deeper cut that may need more attention.
- Check for Paint Transfer:
- Look for any paint transfer from another object onto the rim. This can help gauge the depth of the scratches and whether they are simply superficial or more severe.
- Assess Scratch Width:
- Measure the width of the scratches. While narrow scratches are easier to fix, wider ones may require more advanced repair methods to achieve a seamless finish.
- Evaluate Rim Condition:
- Consider the overall condition of the rim. Multiple or deep scratches on a corroded or bent rim may indicate the need for professional intervention.
By carefully assessing the rim damage, I can determine the best approach to effectively restore the rim’s appearance.
Cleaning and Preparing the Rims
Ensuring proper cleaning and preparation of the rims is crucial before starting any repair work. By following these steps, you can create the ideal foundation for a successful rim restoration process.
- Cleaning the Rims:
- I begin by thoroughly cleaning the rims using a gentle rim cleaner and a microfiber cloth. This helps remove any dirt, grime, or brake dust that may interfere with the repair process.
- Carefully scrub the scratched areas to ensure they are free of any debris or contaminants that could affect the repair outcome.
- Drying the Rims:
- Once the rims are clean, it’s essential to dry them completely using a clean microfiber cloth. Any moisture left on the surface can impact the adhesion of the repair materials.
- I make sure to dry the rims thoroughly, paying extra attention to the scratched areas to prepare them adequately for the next steps.
- Masking Off the Surrounding Areas:
- Before proceeding with the repair, I mask off the surrounding areas of the rim to protect the tire, valve stem, and other parts from any accidental damage during the restoration process.
- Proper masking ensures that only the scratched areas are dealt with, maintaining the integrity of the rest of the rim surface.
- Final Inspection:
- I conduct a final inspection of the rims to ensure they are clean, dry, and properly masked off. This step is crucial to guarantee a seamless repair process without any unnecessary obstructions.
- By double-checking the cleanliness and readiness of the rims, I set the stage for a successful restoration project that will yield professional results.
- Time to Begin the Repair:
- With the rims cleaned, dried, and masked off, I am now ready to begin the repair process confidently. Following these preparatory steps sets me up for a smooth and effective restoration of the scratched rim.
By meticulously cleaning and preparing the rims, I lay the groundwork for a successful rim repair project. This attention to detail ensures that the subsequent steps in the restoration process are executed seamlessly, leading to a flawless outcome.
Repairing the Scratched Area
When faced with a scratched rim on a car, the repair process involves meticulous steps to achieve a professional finish. By following these five straightforward steps, you can effectively restore your rim to its former glory.
Filling in and Smoothing the Scratch
To begin repairing the scratched area, carefully fill in the scratch with a suitable filler or putty. Ensure that the filler matches the color of your rim for a seamless repair. Smooth out the filler using fine-grit sandpaper until it is level with the rest of the rim surface. This step is essential to create a uniform base for the subsequent painting process.
Restoring the Rim’s Finish
To restore the rim’s finish, I apply a primer designed for rims over the filled and sanded area. After allowing it to dry completely, I carefully spray the base color paint evenly across the rim surface, ensuring full coverage. It’s crucial to follow up with a clear coat to protect the new finish and give it a glossy look.
Next, I let the paint cure according to the manufacturer’s instructions to ensure durability. Once fully dry, I gently buff the rim with a polishing compound for a smooth and shiny finish. This final step enhances the overall appearance and longevity of the restoration.
Throughout this meticulous process, attention to detail and patience are key in achieving a professional outcome. By following these steps diligently, I can successfully restore a scratched rim back to its original condition, enhancing the aesthetics of the car.
Preventive Measures for Future Protection
To ensure the longevity of the restored rim and prevent future scratches, I recommend implementing the following preventive measures:
- Regular Inspection: After fixing the scratched rim, it’s essential to conduct regular inspections to detect any signs of new damage early on. By catching abrasions promptly, I can address them swiftly, preventing them from worsening.
- Avoiding Harsh Conditions: I must steer clear of rough driving conditions that could potentially lead to rim scratches. Being mindful of road hazards and avoiding contact with curbs or rough surfaces can significantly reduce the risk of further damage.
- Proper Cleaning and Maintenance: Maintaining a clean rim not only enhances the car’s appearance but also safeguards it from scratches. By using gentle cleaning solutions and soft cloths during regular maintenance, I can prevent abrasive particles from causing scratches.
- Protective Coating: Applying a protective coating or sealant to the rim can add an extra layer of defense against scratches. It acts as a barrier, shielding the rim from minor abrasions and environmental factors that could impact its surface.
- Safe Parking Practices: Parking attentively and avoiding tight spaces or areas with high chances of contact with other vehicles or objects can significantly reduce the risk of scratches to the rim. Opting for designated parking spots and being cautious while maneuvering can help maintain the rim’s pristine condition.
By incorporating these preventive measures into my routine maintenance practices, I can extend the lifespan of the rim and enjoy a scratch-free appearance for a more extended period.
Conclusion
Fixing a scratched rim is a straightforward process that can be done at home with the right tools and techniques. By following the steps outlined in this guide, you can restore your rim to its former glory and enhance the overall appearance of your car. Remember to take your time, pay attention to detail, and follow the manufacturer’s instructions for the best results. With regular maintenance and care, you can keep your rims looking pristine for years to come. Don’t let a scratched rim diminish the beauty of your vehicle – take action today and enjoy the satisfaction of a job well done.
Frequently Asked Questions
How do you fix scratched alloys at home?
To fix scratched alloys at home, you can use polish and buff the damaged area with a clean, microfiber cloth in light circular motions.
How do you fix scratched rims?
Apply polish to your damaged rims by buffing it into the scratched area with a clean cloth in light circular motions.
How to remove scratches from chrome wheels?
Use grade 0000 steel wool dipped in polish to rub over the scratched area in concentric circles until most scratches disappear.
How long does it take to fix scratched rims?
Rim repair usually takes about an hour per wheel, depending on the level of damage.
What home remedy can I use for alloy wheels?
You can use oven cleaner as a home remedy to clean alloy wheels effectively, tackling oil, rust, and mineral stains.